DIY Log Table
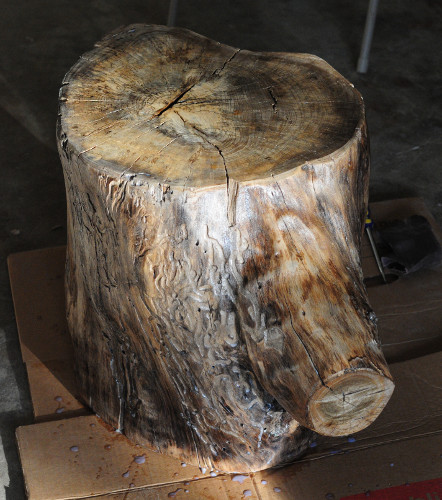
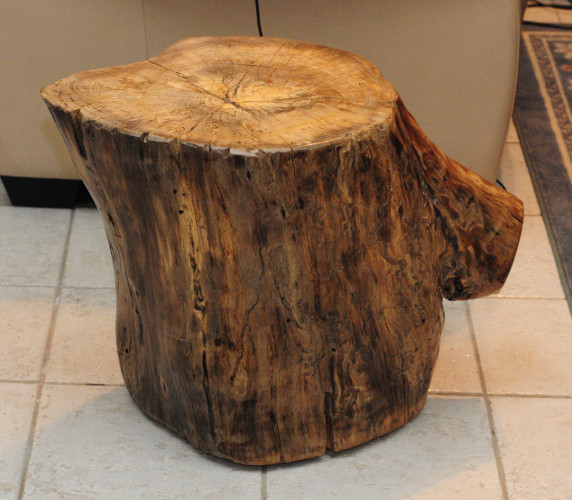
Making a side table from a felled tree
Having been woken up one morning with a man outside of the window on
a reasonably healthy looking tree, a table seemed to be suitable
reparation for the interrupted mornings slumber and future lack of
shade.
Most of the inspiration has come from bye bye brooklyn
who did this sort of thing last year. There are a couple of other helpful
examples; the art of doing stuff and
17 apart.
Things you need
- Log
- Chisel / Flat head screwdriver
- Planer
- Belt Sander / Rotary Sander - 80 to 120 grit
- Sandpaper, 150 and 320 grit
- Furniture Glides
- Paint Brush
- Level
- Polycrylic
- Place for log to dry
Pick a stump
This may or may not be as easy as having one wake you up in the morning.I started out with two big mistakes so the first tips are:
- Pick something that isn't incredibly heavy. I picked a nice large stump which is tall and thick and unreasonably hard to move.
- Pick a stump which is relatively flat on both sides. One side was great, the other side only had 6 or 7 centimeters to grind off.
Dry the stump
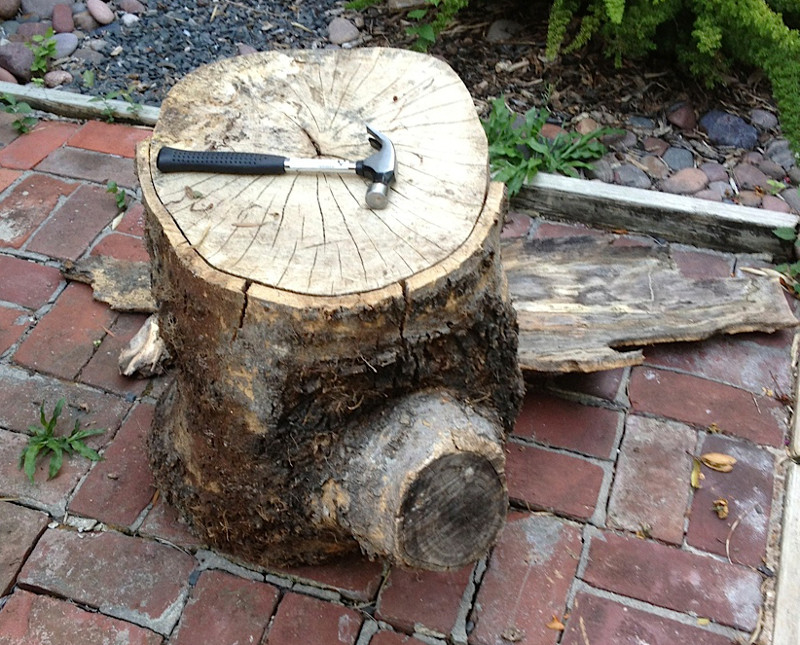
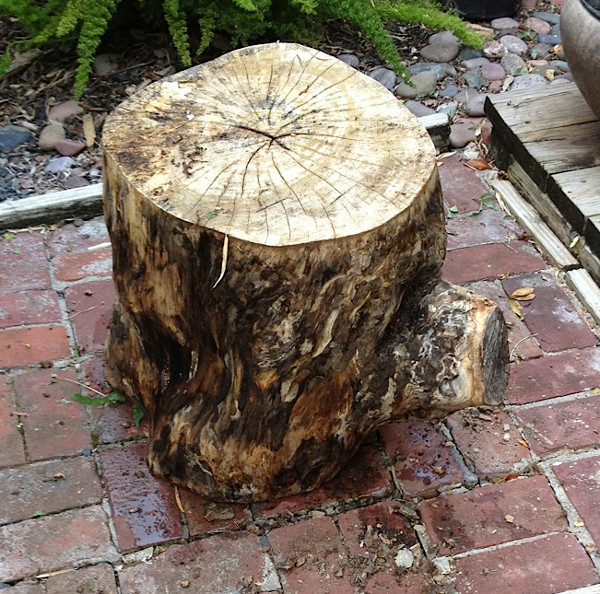
This takes a long time (months) and you have to protect it from the rain, bugs mold, fungus, termites. Fortunately, as it drys it will become lighter. A tarp served to keep it dry in the start but this led to some mold and fungus later.Remove the bark
After drying for a while, this stuff should peel off easily. A chisel works best but you can probably get by with a screwdriver.This part may involve lots of bugs evacuating your progress. Beetles, termites, and many others were hiding under the layer of bark. The termites left a neat network of dirt-filled trails which were later scraped out with a screwdriver.
Flaten the ends
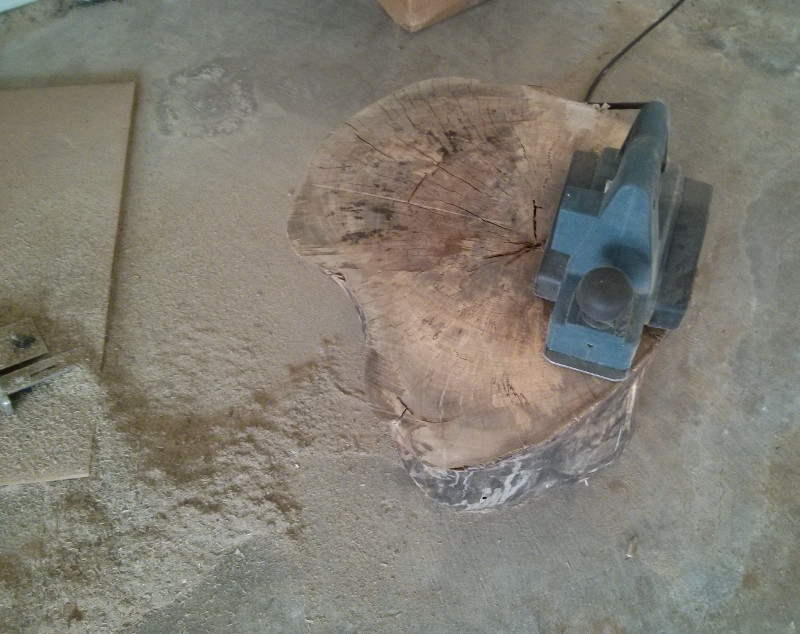
This is the labour intensive phase since one side was 7 cm higher than the other. The planar did its job but very slowly, less than a millimeter at a time. Reverting to a chainsaw might have saved a few evenings of grinding and spared almost a cuibc meter of sawdust and shavings.
Sand
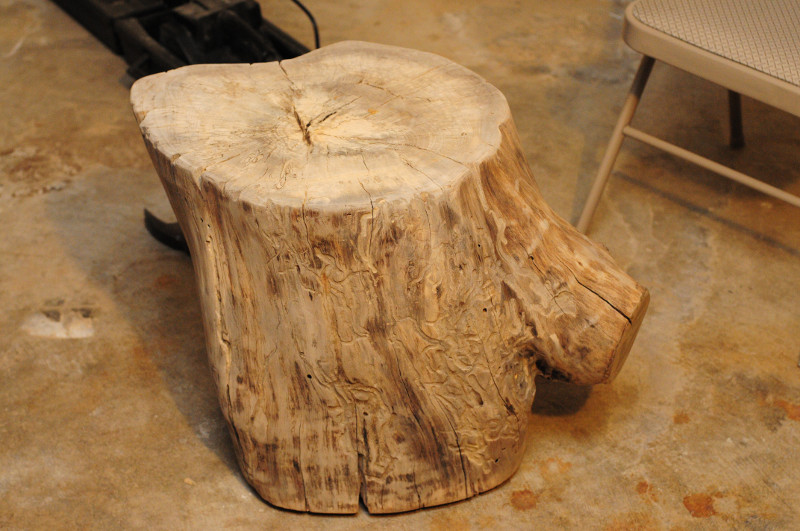
Here's where you get to use the belt sander. I used 80 grit and 120 grit belts on the top, bottom, and flat branch on the side. This also made quick work of rounding the edges on the top. To start with I had a lot of 25+ year old belts which quickly came unglued! These were saved for later when I hand sanded the sides and hard to reach areas. The cracks on the top took some work to remove the loose wood, then fold a piece of sandpaper to smooth the edges.Nail in furniture glides
Coat with Polycrilic
Dust off the log with some compressed air and a damp cloth and it will be time to paint once the moisture evaporates. Several coats are needed and you will need to sand a few times between coats. Sand with the 150 grit at first, since it will be rougher, then move to the 320 grit for the finishing touches.For the last coat, take special note of any bubbles, imperfections, or drips to sand. Paint with the brush at 90° to the surface of the wood to minimise bubbles.
Finally, if the log is too shiny for your tastes, brush the log lightly with #0000 grade steel wool.
